












Every roof in the Chicago area has one job before it has any other: move water off the building fast enough that it never has a chance to sit, pool, or soak in. Slope is what makes that happen. Get the slope right and a roof sheds rain, snowmelt, and ice for decades. Get it wrong – or pair the wrong roofing material with the slope you have – and you invite leaks, rot, ice dams, and premature failure. This is one of the most misunderstood parts of roofing, and it is also one of the most expensive to get wrong, because slope is built into the structure and cannot be changed without a rebuild. Here is exactly how much slope a roof needs, why the number changes with the material, and what our code requires here in Illinois.
Why Roof Slope Matters
Slope is not a style preference. It is the single variable that determines how quickly water leaves your roof, and that speed determines which materials can protect it and how long they will last. A roof that drains in seconds behaves like a completely different system than one where water lingers, even if they look similar from the street.
How Roof Slope Is Measured
Roof slope – often called pitch – is expressed as a ratio of vertical rise to horizontal run, always measured over a standard 12 inches of run. A roof that climbs 4 inches for every 12 inches of horizontal distance is a “4:12” roof (spoken as “four in twelve”). A roof that climbs only 2 inches over that same 12 inches is a “2:12” roof, and so on. The bigger the first number, the steeper the roof.
You can also express slope as a percentage (a 1/4-inch-per-foot drainage slope equals roughly 2%) or as an angle in degrees, but the X:12 convention is what roofers, manufacturers, and building codes use, so that is the language that matters when you are choosing materials or reading a warranty.
Low-Slope vs. Steep-Slope: The Dividing Line
There is a critical dividing line in roofing, and it sits at roughly 3:12. Below that line, a roof is considered “low-slope,” and above it, “steep-slope.” This is not a trivial label – it changes everything about how the roof must be built.
Steep-slope roofs (3:12 and above) shed water fast enough that overlapping materials like asphalt shingles, tile, or shakes can be used, because water never has time to work its way backward under the overlaps. Low-slope roofs (below 3:12) drain slowly, so they generally require a continuous, seamless membrane – a fully sealed surface rather than overlapping pieces – because any lap joint would eventually leak. Understanding which side of this line your roof falls on is the first step in choosing the right material.
What Happens When Slope Is Too Low for the Material
When a roof is built with too little slope for the material installed on it – for example, standard asphalt shingles laid on a 1:12 porch roof – three predictable problems develop:
Ponding water. On a slope that is too shallow to drain, water collects in low spots instead of running off. Standing water finds every seam, nail hole, and imperfection, and it accelerates the breakdown of the roofing material. Ponding is the leading cause of failure on improperly sloped low-slope roofs.
Wind-driven and backed-up leaks. On shingle roofs below their rated minimum, wind pushes rain uphill under the shingle laps faster than the roof can drain it away. In winter, meltwater backs up behind ice and refreezes. In both cases water gets under the roofing and into the deck, and the leak shows up inside the home long before the roof looks worn out from the street.
Premature material failure. Materials rated for steep slopes rely on gravity to keep water moving. Install them too flat and they are constantly wet, which shortens their service life dramatically – often cutting a 25-year shingle down to a fraction of its expected lifespan and voiding the manufacturer’s warranty in the process.
The International Residential Code, which governs residential roofing in Illinois, sets a specific minimum slope for every roofing material precisely to prevent these failures. Those minimums are not suggestions – they are the tested thresholds below which each material stops performing.
Minimum Slope Requirements by Roofing Material
The slope your roof needs depends entirely on what is going on top of it. Here is what each common roofing material requires, and why.
Asphalt Shingles
Asphalt shingles are the most common residential roofing material, and they need a minimum slope of 2:12 – but with an important condition. Between 2:12 and 4:12, shingles can only be installed over a doubled-up layer of underlayment (or a self-adhered ice-and-water membrane) to compensate for the slower drainage. At 4:12 and above, standard single-layer installation is permitted. Below 2:12, asphalt shingles should never be used, period. This is the material where we most often see homeowners in Naperville and Aurora run into trouble on shallow porch and addition roofs.
Metal Roofing
Metal is one of the most slope-flexible materials available, which is part of why it has become so popular across the Chicago suburbs. Standing-seam metal systems, which have raised, sealed seams, can be installed on slopes as low as 1:12 – and some engineered systems go even lower. Exposed-fastener metal panels, which are more economical, typically require a minimum of 3:12. If you have a low-slope section that you want to keep watertight without switching to a flat membrane, metal roofing is often the answer. Homeowners in Schaumburg and Elgin increasingly choose standing seam for exactly this reason.
Flat and Low-Slope Membranes (TPO, EPDM, Modified Bitumen)
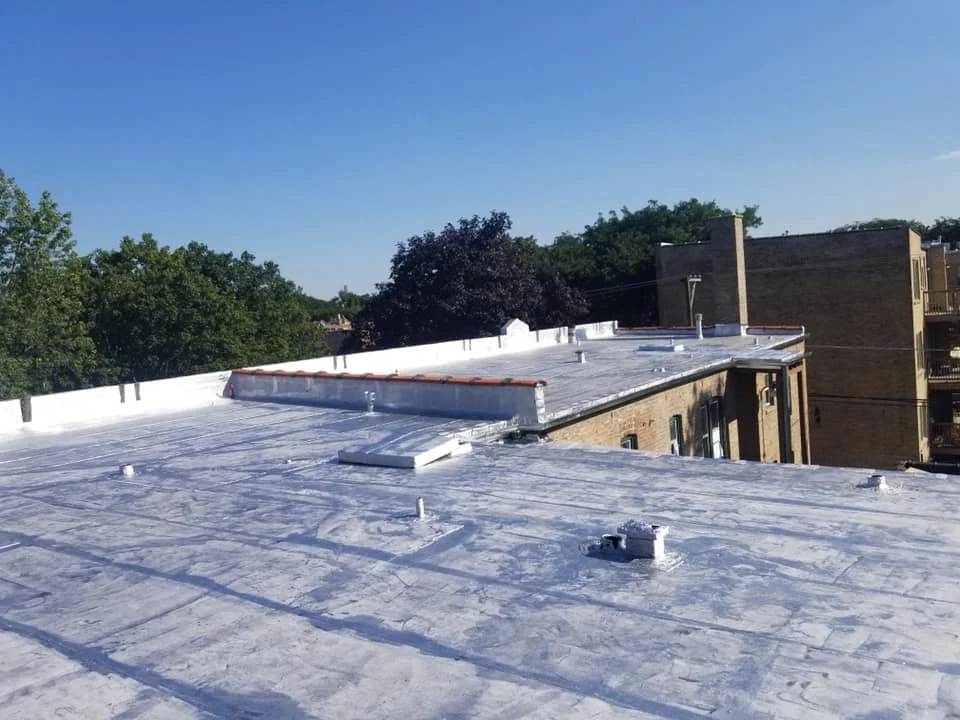
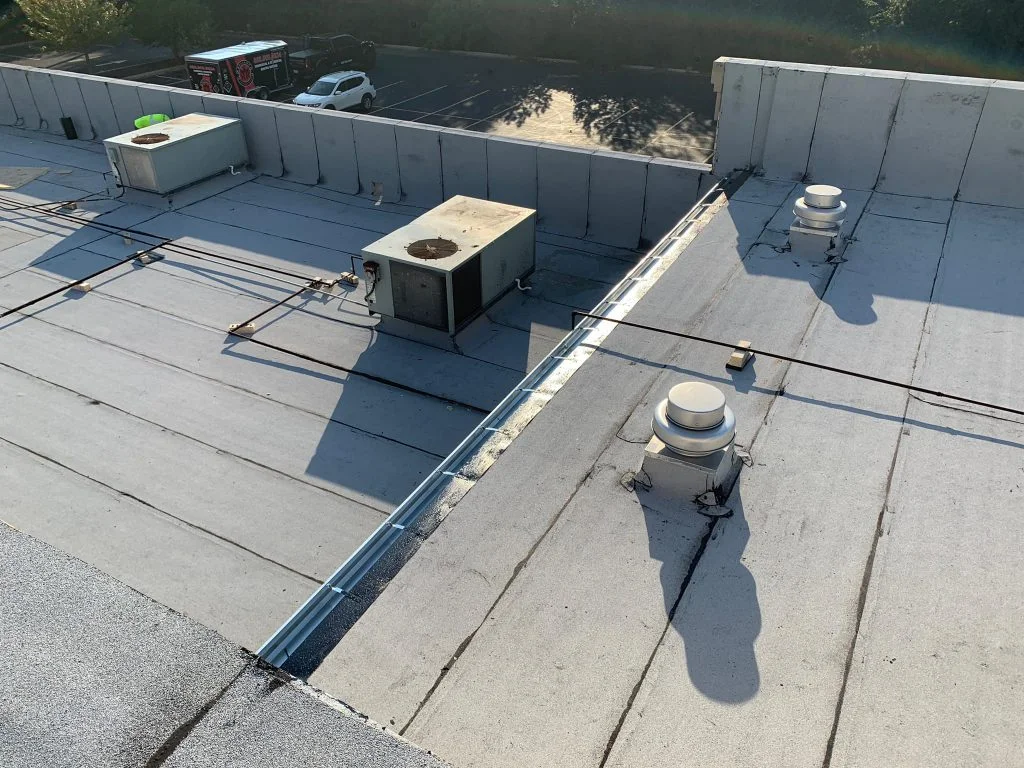
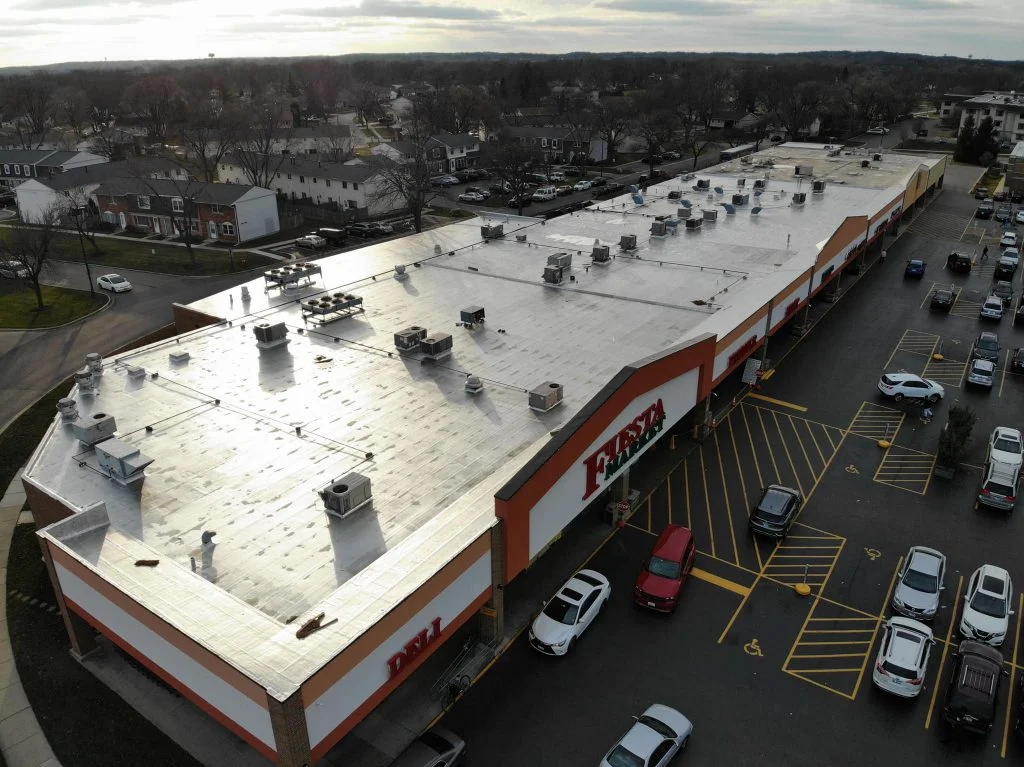
Truly flat roofs are never perfectly flat – they still need a minimum drainage slope of 1/4 inch per foot (that is 1/4:12, or about 2%) so water can find the drains. Below that, water ponds no matter what the surface is. For these low-slope roofs, we install continuous membrane systems – TPO, EPDM rubber, or modified bitumen – that seal the entire surface rather than relying on overlapping pieces. These are the systems that protect flat porches, additions, and many commercial buildings throughout Evanston and Skokie.
Wood Shakes, Tile, and Slate
The premium steep-slope materials all need generous pitch because they rely entirely on gravity and overlap to stay watertight. Wood shakes and shingles generally require a minimum of 3:12 to 4:12. Clay and concrete tile typically need 2.5:12 to 4:12 depending on the underlayment system. Natural slate, the longest-lived roofing material there is, requires a minimum of 4:12 and performs best considerably steeper. These materials are unforgiving of inadequate slope, so slope must be confirmed before they are ever specified.
Building Codes and Manufacturer Requirements
Two separate authorities dictate the minimum slope for your roof, and both matter. Ignore either one and you create problems that surface years later.
What the Building Code Requires
The International Residential Code (IRC), specifically the roofing provisions in Section R905, establishes the minimum slope for each roof-covering material – the same numbers described above. Chicago and its surrounding municipalities enforce these requirements (Chicago through its own building code, the suburbs generally through the adopted IRC), and roofing permits are issued and inspected against them. Installing a material below its code-minimum slope is a failed inspection waiting to happen, and it can create serious problems when you sell the home, because inspectors and appraisers flag non-conforming roofing.
Manufacturer Warranty Requirements
Beyond code, every roofing manufacturer publishes its own minimum-slope requirements for its products, and installing below them voids the warranty. A shingle manufacturer will not honor a claim on material installed at 1:12 when the product is rated for 2:12 minimum – the failure is considered an installation error, not a product defect. This is why the slope-and-material match has to be right on paper before installation begins, not discovered after a leak. A properly documented roof installation protects both the code compliance and the warranty at the same time.
How to Determine the Right Slope for Your Roof
Whether you are planning a new roof, an addition, or a roof replacement, here is the process our contractors follow to get slope and material matched correctly.
Step 1: Measure the Existing Slope
The slope of your current roof is measured directly – a 12-inch level is held horizontally against the roof surface, and the vertical distance from the 12-inch mark down to the roof is the “rise.” A rise of 4 inches means a 4:12 roof. This can be done from inside the attic against the rafters if getting on the roof is unsafe. Every roof plane is measured, because a single house often has multiple slopes.
Step 2: Identify Every Roof Plane Separately
Most homes are not a single slope. The main roof might be a comfortable 6:12 while a rear porch, dormer, or addition sits at 2:12 or flatter. Each plane has to be evaluated on its own, because each one may need a different material. Treating a whole roof as one slope is a common and costly mistake.
Step 3: Match Slope to Material
With the slope of each plane confirmed, materials are selected against the minimums above. A 6:12 main roof takes shingles easily; a 1.5:12 porch needs standing-seam metal or a membrane. This is where experience matters most, because the transition points between materials must be detailed correctly to stay watertight.
Step 4: Detail the Transitions
Where a steep-slope material meets a low-slope material – for instance, where shingles on the main roof drain onto a flat porch – the transition is the single most leak-prone point on the whole roof. It requires proper flashing, membrane run-up under the shingles, and correct sequencing. This is not a place for shortcuts.
Step 5: Plan for Drainage
Slope determines where water goes, and it has to go somewhere controlled. Adequate slope toward properly sized gutters and downspouts keeps water off the fascia, away from the foundation, and out of the basement. On flat sections, internal drains or scuppers are positioned at the low points established by the drainage slope.
Step 6: Verify Against Code and Warranty
Before anything is installed, the slope-and-material selection is checked against both the local code minimum and the manufacturer’s specification. When both agree, the roof is permitted, installed, inspected, and warrantied without surprises.
Slope Considerations for Chicago’s Climate
Chicago’s weather puts unique demands on roof slope that milder climates never face. Two factors matter most here.
First, snow load and ice dams. A steeper roof sheds snow more readily and gives meltwater less opportunity to refreeze at the eaves. Low-slope roofs hold snow longer and are far more prone to ice dams – the ridges of ice that form at the roof edge and force water backward under the roofing. If your low-slope roof struggles every winter, professional ice dam removal protects it while the underlying slope-and-material issue is addressed. Homeowners in Palatine and Rockford, where winters run harder, feel this most.
Second, heavy rain and storm intensity. Chicagoland’s summer storms drop a lot of water fast. A roof with adequate slope clears that volume immediately; a marginal roof backs up and finds its weak points. This is why we are conservative about slope minimums here and often recommend exceeding them where possible. After severe weather, prompt storm damage repair keeps a small slope-related vulnerability from becoming a full tear-off.
The Cost of Getting Slope Wrong
Mismatching slope and material creates three categories of cost, and all of them are avoidable.
Immediate leaks and interior damage. A material installed below its minimum slope typically starts leaking within the first few seasons. By the time the leak is visible inside, water has usually already reached the deck, insulation, and sometimes the framing – turning a roofing problem into a structural and drywall problem that costs several times the original job.
Voided warranty. When a material fails because it was installed below its rated slope, the manufacturer denies the claim. You lose the coverage you paid for, and the entire replacement cost falls on you rather than the warranty.
Redone work and resale problems. Non-conforming roofing often has to be torn off and reinstalled correctly with the right material – paying twice for one roof. And when it comes time to sell, a home inspector flagging an under-sloped roof can stall or shrink a sale in a market where roof condition is scrutinized closely.
Getting Your Roof Slope Right
If you are building an addition, replacing a roof, or wondering whether the shingles on your low-slope porch are the reason it keeps leaking, the slope-and-material match is where to start. It is not something to guess at, because the cost of getting it wrong is measured in tear-offs and interior repairs, not in a single misjudged material choice.
All Roofs Inc. has been matching roofing systems to Chicago-area roofs for over 30 years, across Naperville, Aurora, Evanston, and communities throughout Chicagoland. We measure every plane, match each one to a code-compliant and warranty-approved material, and detail the transitions so the roof drains the way it was designed to.
Call (866) 205-8833 or request a free estimate online. We will measure your roof’s slope, confirm the right material for every plane, and give you a written estimate with no hidden costs.
Free Roof Inspection
30+ years of experience. 20,000+ homes roofed. BBB A+ rated. Licensed, bonded, and insured.
(866) 205-8833 | Get Free Estimate
Related Articles
- Asphalt Shingles vs. Metal Roofing: Which Is Right for Your Chicago Home? – A side-by-side comparison of cost, lifespan, and slope compatibility.
- How to Spot a Roof Leak Before It Reaches Your Ceiling – The early warning signs of a leaking roof and what to do about them.
- Ice Dams in Chicago: Why They Form and How to Stop Them – What causes ice dams, the role roof slope plays, and how to protect your roof each winter.