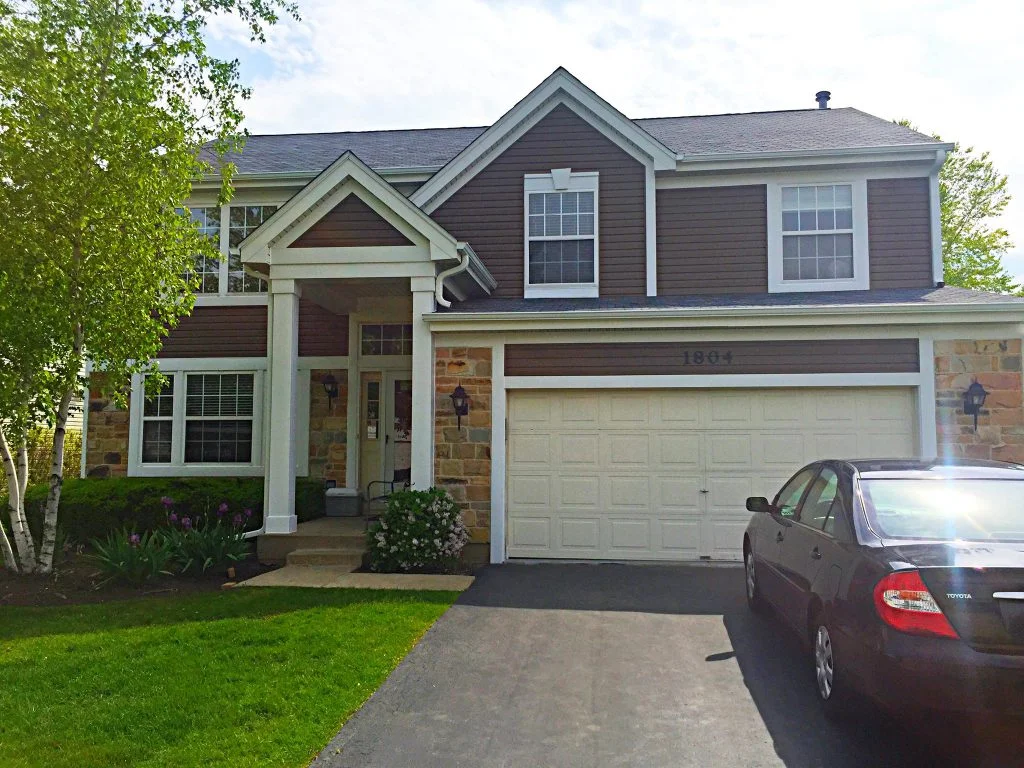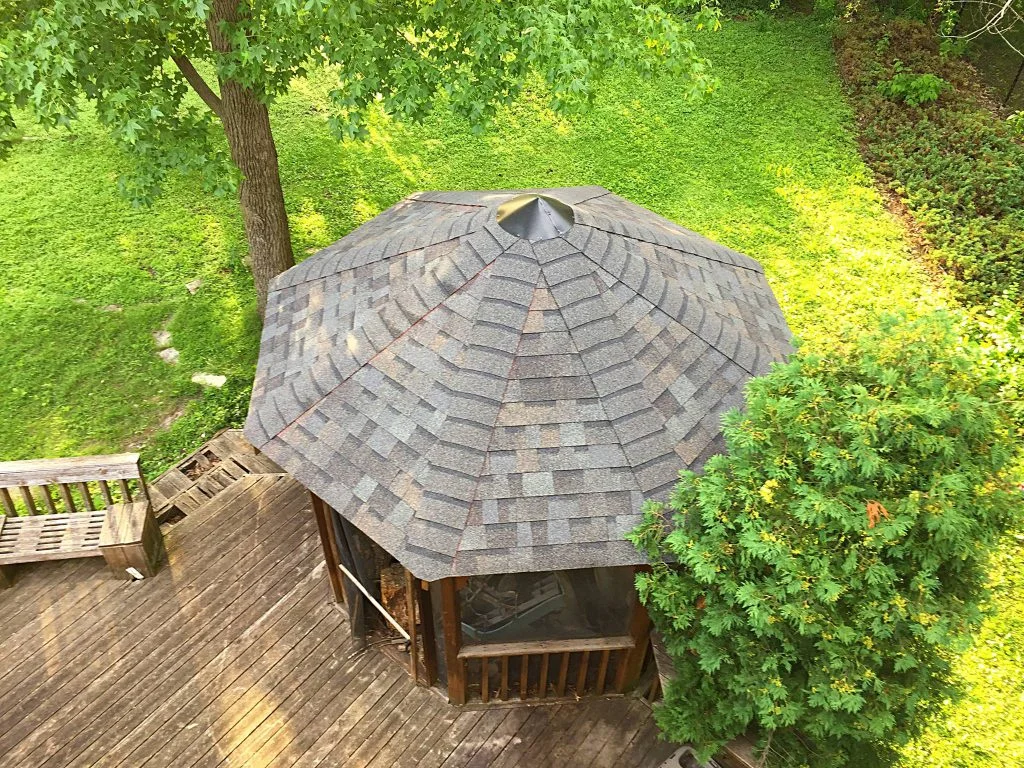













Two identical houses on the same street, roofed the same year with the same shingles. One roof lasts 28 years. The other is curling, cracking, and leaking at 15. The difference is almost never the shingles. It’s usually what’s happening in the attic underneath them.
Ventilation is the least glamorous part of a roofing system and one of the most consequential. It determines how hot the roof deck gets in July, how much moisture collects in the attic in January, whether ice dams form at the eaves, and how many years the shingles survive. It’s also frequently wrong – on new construction, on re-roofs, and especially on older homes that have been insulated and remodeled over decades.
This guide explains how roof and attic ventilation actually works, the types of vents, how to recognize a ventilation problem, and why it should be evaluated every time a roof is inspected or replaced.
Why Attics Need to Breathe
An attic is a buffer zone between the living space and the outdoors. Heat and moisture from the house rise into it; sun heats the roof above it. Without a way to move air through, that heat and moisture accumulate – and both damage the roof.
Summer: heat
On a 90°F day in the Chicago suburbs, an unventilated attic can reach 140–160°F. That heat:
- Cooks the shingles from below. Asphalt shingles age through heat exposure. A roof deck that’s 30–40 degrees hotter than it should be dramatically accelerates granule loss, cracking, and curling. Shingle manufacturers know this – most warranties require adequate ventilation, and inadequate ventilation is a common reason for denied warranty claims.
- Raises cooling costs. Heat radiates down through the ceiling insulation into the living space, making the air conditioner work harder.
- Degrades roof decking. Prolonged heat dries out and weakens plywood and OSB, and can cause delamination.
Winter: moisture and ice dams
In winter the problem reverses. Warm, moist air from cooking, showering, laundry, and breathing rises into the attic through every gap in the ceiling. When it hits the cold underside of the roof deck, it condenses – as water droplets or, on very cold nights, as frost. Repeated over a winter, that moisture:
- Rots the roof decking from below. Mold, mildew, and delamination on the underside of the sheathing are classic signs.
- Soaks the insulation, reducing its effectiveness and creating a feedback loop of more heat loss.
- Rusts nail tips – roofers call these “shiners” – and drips onto ceilings, which homeowners often mistake for a roof leak.
And critically, in our climate, poor ventilation is the leading cause of ice dams. When the attic is warm, the roof deck is warm, snow melts from underneath, runs to the cold eaves, and refreezes into a dam that backs water up under the shingles. A cold, well-ventilated attic keeps the roof deck close to outdoor temperature so snow stays frozen until the weather warms. Our ice dam removal team sees the consequences every winter, and the root cause is almost always ventilation, insulation, or air leakage – usually all three.
How Roof Ventilation Works
The principle is simple: air enters low, air exits high. Warm air rises, so if you provide an opening at the bottom of the attic (intake) and an opening at the top (exhaust), air flows continuously through the attic on its own – no fans required. This is called passive or natural ventilation, and it’s the basis of nearly every residential system.
The two halves have to be balanced. Exhaust with no intake pulls air from the living space (through the ceiling) instead of from outside, which makes the moisture problem worse and can even backdraft combustion appliances. Intake with no exhaust does nothing. The general rule of thumb used by roofers and building codes is roughly 1 square foot of net free vent area for every 150 square feet of attic floor (or 1:300 with a vapor retarder and balanced intake/exhaust), split about evenly – and ideally with slightly more intake than exhaust.
Types of Intake Vents
Soffit vents. The standard. Perforated aluminum or vinyl panels, or continuous strip vents, in the soffit (the underside of the roof overhang). They’re the lowest point of the attic, which is exactly where intake belongs. Individual rectangular soffit vents are common on older homes; continuous soffit venting is far more effective.
Drip edge vents / edge vents. For homes with little or no overhang and therefore no room for soffit vents, specialized products provide intake at the roof edge, integrated with the drip edge.
Gable vents. Louvered openings in the gable end walls. They can function as intake or exhaust depending on wind direction, and they’re less effective than a soffit/ridge system. On roofs with ridge vents, gable vents can actually short-circuit the airflow and are often closed off.
Types of Exhaust Vents
Ridge vent. A continuous low-profile vent along the entire peak of the roof, covered by ridge cap shingles so it’s nearly invisible. It exhausts along the highest, longest line of the attic, which makes it the most effective and even option. It’s the standard for quality re-roofs and works best paired with continuous soffit intake.
Box vents (static vents, roof louvers, “turtle vents”). Individual hooded metal or plastic vents installed near the ridge. They work, but each covers a limited area, so several are needed, and they create multiple penetrations – each a potential leak point.
Turbine vents (“whirlybirds”). Wind-driven spinning vents that pull air out when the wind blows. Effective in windy conditions, less so in still air; they can also be noisy and are prone to bearing wear.
Powered attic fans. Electric or solar-powered fans, thermostatically controlled. They move a lot of air, but they can be counterproductive: if intake is insufficient, they pull conditioned air from the house through ceiling gaps, increasing energy costs. They also need maintenance and can fail silently.
Gable-mounted fans. Similar principle, mounted in the gable wall.
For most homes, a continuous ridge vent with continuous soffit intake is the best-performing, lowest-maintenance system, and it’s what we recommend on most roof replacements.
Baffles: The Piece Everyone Forgets
Intake vents only work if air can actually get from the soffit into the attic. On many homes, insulation has been blown or laid right up to the eaves, completely covering the soffit vents from the inside. The vents look fine from outside; they just don’t do anything.
Baffles (also called rafter vents or insulation chutes) are channels installed between the rafters at the eaves that hold the insulation back and keep a clear air path from the soffit up into the attic. Missing or crushed baffles are one of the most common ventilation defects we find, especially in homes that have had insulation added after construction.
Ventilation, Insulation, and Air Sealing: The Three-Legged Stool
Ventilation doesn’t work alone. Three things together keep an attic cold and dry in winter and cool in summer:
- Air sealing – closing the gaps where household air leaks into the attic: around light fixtures, plumbing and wiring penetrations, the attic hatch, top plates, and ductwork. Air leakage is the biggest source of attic moisture and a major contributor to ice dams.
- Insulation – enough of it (current recommendations for our climate zone are R-49 to R-60) to keep heat from conducting up through the ceiling.
- Ventilation – to carry away whatever heat and moisture still get through.
A home with great ventilation but a leaky ceiling will still have ice dams. A home with great insulation but no intake will still have condensation. When we assess a roof, we look at all three, because fixing one without the others often just moves the problem.
Signs of Poor Roof Ventilation
Ventilation problems hide in the attic, but they leave evidence throughout the house.
In winter:
- Ice dams and large icicles at the eaves.
- Frost on the underside of the roof deck or on nail tips (visible in the attic on cold mornings).
- Water droplets or dripping in the attic on sunny winter days as frost melts.
- Damp, matted, or discolored insulation.
- Ceiling stains that appear in late winter – often mistaken for roof leaks.
In summer:
- An upstairs that’s noticeably hotter than the rest of the house.
- Higher-than-expected cooling bills.
- An attic that’s uncomfortably hot even in the evening.
On the roof:
- Shingles curling, cracking, or losing granules well before their expected lifespan.
- Blistering on shingle surfaces.
- Dark streaks or discoloration on the roof.
- A roof that “looks old” at 12–15 years.
In the attic:
- Mold or mildew on rafters or the underside of the decking.
- Musty odor.
- Delaminating or sagging sheathing.
- Rusted nail tips.
- Soffit vents blocked by insulation, or no visible daylight at the eaves.
- No ridge vent, or a ridge vent installed with no slot cut in the decking beneath it (yes, this happens).
Elsewhere:
- Peeling exterior paint near the roofline.
- Moisture problems or mold in upstairs closets on exterior walls.
A professional roof inspection that includes the attic will identify most of these. An inspection that skips the attic will miss the cause of half of them.
Common Ventilation Mistakes
Ventilation is often wrong not because it’s missing but because it was done incorrectly:
- Exhaust without intake – a ridge vent or fan on a home with blocked or nonexistent soffit vents.
- Mixed exhaust types – a ridge vent plus box vents plus a gable vent on the same attic. Air takes the shortest path, so the lower exhaust vents become intake for the higher ones, and the soffit intake is bypassed. The bottom of the attic never ventilates.
- Powered fans with inadequate intake – depressurizing the attic and pulling conditioned air from the house.
- Ridge vent with no slot cut – the vent is installed for appearance but there’s no opening beneath it.
- Insulation blocking soffits – no baffles.
- Bathroom or kitchen exhaust fans vented into the attic instead of outside. This dumps gallons of moisture into the attic every week and is a leading cause of winter condensation and mold.
- Undersized ventilation for the attic area – a few box vents on a large roof.
- Ventilating a conditioned attic – homes with spray-foam insulation on the underside of the roof deck have “unvented” attics by design and must not have roof vents. Adding them breaks the system.
Ventilation and Your Roof Warranty
Most shingle manufacturers require ventilation that meets a minimum standard (typically the 1:150 or 1:300 ratio, with balanced intake and exhaust) as a condition of the warranty. If shingles fail early and the manufacturer’s inspector finds an under-ventilated attic, the claim can be denied. This is one reason a reputable contractor evaluates and corrects ventilation as part of every re-roof rather than just replacing the shingles and walking away.
Why Ventilation Is a Contractor’s Job
Ventilation seems approachable – vents are inexpensive and visible. But the system is easy to get wrong in ways that don’t show up for years, and several of the fixes require roofing work:
- Installing a ridge vent means cutting a slot in the roof deck along the entire ridge, removing and replacing the ridge cap, and integrating with the underlayment – a roofing task.
- Adding box or turbine vents means cutting holes through shingles, underlayment, and decking, then flashing each one correctly. Every vent is a potential leak.
- Diagnosing whether the problem is ventilation, insulation, air leakage, or a misvented exhaust fan requires experience and often a look at the whole attic.
- Calculating the required vent area for the attic, choosing compatible vent types, and confirming the soffit intake is actually open takes more than a trip to the hardware store.
- Working at the ridge is working at the highest, most exposed point of the roof.
At All Roofs Inc., ventilation is evaluated on every inspection and addressed as part of every roof installation. We calculate the required vent area, confirm soffit intake is present and unobstructed, install baffles where insulation blocks the eaves, remove or close conflicting vents, and install continuous ridge venting wherever the roof design allows. On homes where a full replacement isn’t needed, our roof repair team can add or correct ventilation on an existing roof.
Frequently Asked Questions
How much attic ventilation do I need? The standard is 1 square foot of net free area per 150 square feet of attic floor, balanced between intake and exhaust (or 1:300 with a ceiling vapor retarder). Net free area is the actual open area of the vent, which is less than its physical size. Your roofer calculates this for your home.
Is a ridge vent better than box vents? For most roofs, yes. A ridge vent exhausts evenly along the entire peak, has no moving parts, and creates one continuous, well-flashed opening instead of multiple penetrations. It requires adequate soffit intake to work.
Can I have both a ridge vent and gable vents? It’s generally not recommended. Gable vents can short-circuit the soffit-to-ridge airflow. Most roofers close off gable vents when installing a ridge vent.
Does a metal roof need ventilation? Yes. The attic ventilation principles are the same regardless of roof covering. Metal roofs can also incorporate ridge vents designed for the panel profile. See our metal roofing page.
Will better ventilation stop my ice dams? It’s usually the biggest factor, but ice dams are typically a combination of ventilation, insulation, and air leakage. A professional assessment identifies which to address.
Can ventilation be improved without replacing the roof? Often, yes – adding baffles, opening blocked soffits, installing a ridge vent, or closing conflicting vents can all be done on an existing roof. Whether that’s the right investment depends on the roof’s age and condition, which is why an inspection comes first.
Give Your Roof Room to Breathe
If your roof is aging faster than it should, your upstairs is an oven in summer, or ice dams show up every winter, ventilation is the first thing to check – and the least expensive thing to fix. All Roofs Inc. has been diagnosing and correcting attic ventilation on Chicago-area homes for over 30 years.
Contact us or call (866) 205-8833 for a free inspection that includes the attic, anywhere in Chicago and the surrounding suburbs.
Related reading: